Happy New Year 2010 Tutorial
Program Used - Paintshop Pro 10
Plugins Used - EyeCandy 5 Impact (not required!)
Scrap Kit - Elegant New Year PTU tagger sized kit by C.C.Creationz @ http://cccreationz.blogspot.com
Available for purchase at Scrappin Dollars @ http://scrappindollars.com
Template - HNY2010template by Kelly's Kreations @ http://kellyskreationcorner.blogspot.com
Tube - glitter2010 by Geith Garvey @ http://garvgraphx.com for purchase @ http://www.mypsptubes.com
Font - Zoe - http://azfonts.com
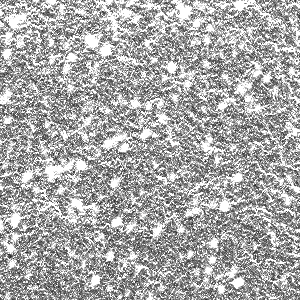
Supplies - glittersilver.png click below to download png file.
Program Used - Paintshop Pro 10
Plugins Used - EyeCandy 5 Impact (not required!)
Scrap Kit - Elegant New Year PTU tagger sized kit by C.C.Creationz @ http://cccreationz.blogspot.com
Available for purchase at Scrappin Dollars @ http://scrappindollars.com
Template - HNY2010template by Kelly's Kreations @ http://kellyskreationcorner.blogspot.com
Tube - glitter2010 by Geith Garvey @ http://garvgraphx.com for purchase @ http://www.mypsptubes.com
Font - Zoe - http://azfonts.com
Supplies - glittersilver.png click below to download png file.
Open HNY2010 template. Copy. Close original. Delete top layer of template (it's the credits/watermark).
In your scrap kit, open paper11. Minimize it.
Select your color replacer tool. Background properties black. Foreground properties paper11.
Use the color replacer tool on happynewyearblack, black rectangle, and blackcircle layers.
Open glittersilver file (that you downloaded from my blog). Minimize.
Select your color replacer tool. Make sure the tolerence is set to 200. Background properties b7b7b7 (gray). Foreground properties glittersilver.
Use color replacer tool on 2010glitter, smglittercircle, happynewyearglitter, glitterrectangle, glitterstrips, and glittercircle layers.
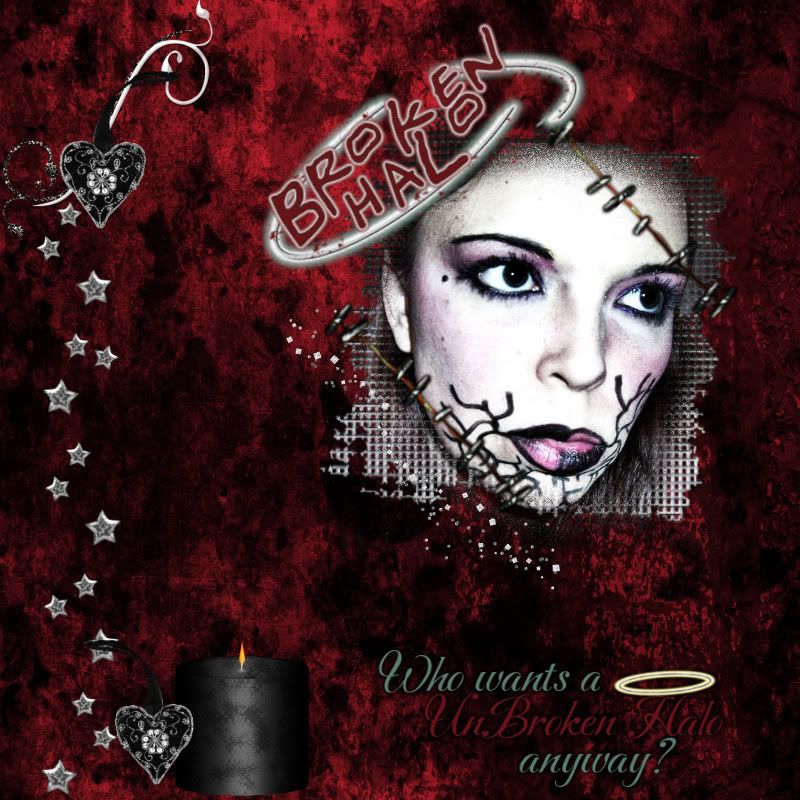
Open your tube of choice. Copy. Close orginal. (I chose a tube that has an up close headshot and a full body shot!)
Go to template. Select silverhalfcircle layer. Paste headshot of tube of choice as new layer.
Click silverhalfcirclelayer. Select all. Float. Defloat. Invert. Click layer with headshot of tube. Delete. (Tube should be only inside half circle now)
Selections > None
Set opacity of layer with headshot of tube to 40 or to your liking.
Go back to other image with full body shot of tube of choice. Copy. Go to template. Paste as new layer.
Arrange to your liking.
Select big2010 layer.
Select color replacer tool. Background properties paper11. Foreground properties 808080 (darker gray).
Use color replacer on big2010 layer.
In the scrap kit open stars2. Resize to your liking. Copy. Go to template. Click bkg layer.
Paste stars2 as new layer. Arrange to your liking.
Open bow2. Resize 60% and copy. Go to template and select happynewyearblack layer.
Paste bow2 as new layer. Add drop shadow with the following settings.
In your scrap kit, open paper11. Minimize it.
Select your color replacer tool. Background properties black. Foreground properties paper11.
Use the color replacer tool on happynewyearblack, black rectangle, and blackcircle layers.
Open glittersilver file (that you downloaded from my blog). Minimize.
Select your color replacer tool. Make sure the tolerence is set to 200. Background properties b7b7b7 (gray). Foreground properties glittersilver.
Use color replacer tool on 2010glitter, smglittercircle, happynewyearglitter, glitterrectangle, glitterstrips, and glittercircle layers.
Open your tube of choice. Copy. Close orginal. (I chose a tube that has an up close headshot and a full body shot!)
Go to template. Select silverhalfcircle layer. Paste headshot of tube of choice as new layer.
Click silverhalfcirclelayer. Select all. Float. Defloat. Invert. Click layer with headshot of tube. Delete. (Tube should be only inside half circle now)
Selections > None
Set opacity of layer with headshot of tube to 40 or to your liking.
Go back to other image with full body shot of tube of choice. Copy. Go to template. Paste as new layer.
Arrange to your liking.
Select big2010 layer.
Select color replacer tool. Background properties paper11. Foreground properties 808080 (darker gray).
Use color replacer on big2010 layer.
In the scrap kit open stars2. Resize to your liking. Copy. Go to template. Click bkg layer.
Paste stars2 as new layer. Arrange to your liking.
Open bow2. Resize 60% and copy. Go to template and select happynewyearblack layer.
Paste bow2 as new layer. Add drop shadow with the following settings.

Open silver embellishment. Resize by 80%. Copy. Go to template and click layer with body shot of tube of choice.
Paste silver embellishment as new layer. Move to lower left. Duplicate. Mirror.
Open sparkles. Resize 75%. Copy. Go to template and select mask layer. Paste sparkles as new layer.
Select rose with feather and pearls. Resize 50%. Copy. Go to template an click layer with your silver embellishment.
Paste rose with feather and pearls as new layer. Arrange to your liking.
Select pearls. Resize 30%. Copy. Go to template. Paste as new layer. Move to lower left. Duplicate. Mirror.
Add your copyright info and watermark.
Merge all.
Add your name.
I used "Zoe" font. Foreground settings black. Background settings glittersilver. 1.0 stroke width. Size 72.
I also increased the size of my name more by hand. Then I converted to raster layer.
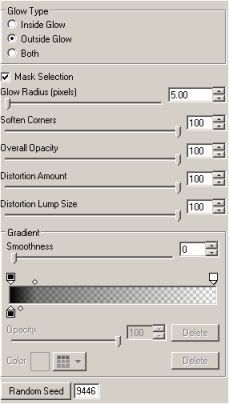
Effects > Plugins > Eye Candy 5 Impact > Gradient Glow - Using the following settings
Paste silver embellishment as new layer. Move to lower left. Duplicate. Mirror.
Open sparkles. Resize 75%. Copy. Go to template and select mask layer. Paste sparkles as new layer.
Select rose with feather and pearls. Resize 50%. Copy. Go to template an click layer with your silver embellishment.
Paste rose with feather and pearls as new layer. Arrange to your liking.
Select pearls. Resize 30%. Copy. Go to template. Paste as new layer. Move to lower left. Duplicate. Mirror.
Add your copyright info and watermark.
Merge all.
Add your name.
I used "Zoe" font. Foreground settings black. Background settings glittersilver. 1.0 stroke width. Size 72.
I also increased the size of my name more by hand. Then I converted to raster layer.
Effects > Plugins > Eye Candy 5 Impact > Gradient Glow - Using the following settings
Repeat the gradient glow with the same settings 2 more times.
As usual you can click on the graphics for a larger view! :o)