Tuesday, December 1, 2009

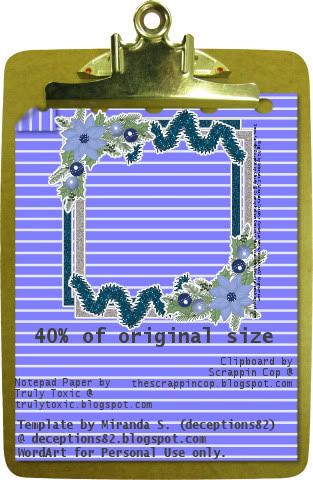
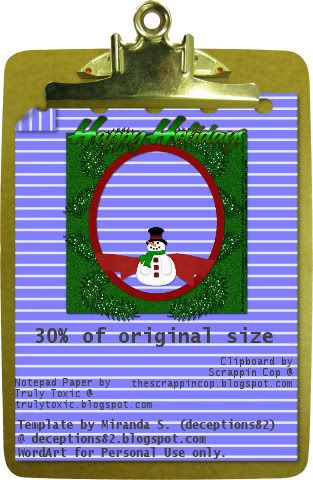
Scrapkit for Winter Magic Blog Train


Click *here* to download.
The password is "deceptions82"

And hop on the train to see what other goodies are waiting for you :o)

 Or catch the train from its departure point below

PS. Don't forget to leave a little lovin if you download something of mine,
I appreciate it very much & it helps encourage me to continue designing...


Miranda

Friday, November 27, 2009

Woo hoo! Scrap Kit News & Personal CT biz...

I finally finished my first scrap kit (not part of a blog train!)
Though I am talking with Kelli at www.divascrappersdesigns.com about being a designer there. So I will keep you updated & may be selling my first kit!! I am also Personal CT for DSD but have not gotten the opportunity to choose a kit yet. As they just opened today. Exciting!

I also have both of my scrap kits finished for the blog trains. And am contemplating joining 2 other blog trains.

I have also started Personal CT for another designer. Lavender Angel Designs - http://lavendarangel.blogspot.com/ I have my kit and am planning on putting a wonderful LO or two or three lol together very soon. Just as soon as this 9 days straight of working is over...

And I have started Guest Personal CT for another designer. Designs by Mamrotka - http://mamrotka.blogspot.com/  and her store is here - http://scrapbird.com/shop/ there are a lot of very beautiful kits there & the gallery shows off some creatively done LOs! I can't wait to put some of mine in there. :o)

So remember to FOLLOW MY BLOG or link me or whatever, because my 2 scrap kits will be released & available for download December 1st. They are free & personal use only. Everything shared within my blog is for personal use only unless otherwise stated.  Thanks for reading!


Miranda

Tuesday, November 24, 2009

Please Update My Blinkie!

I noticed an error in my blinkie.

Please look to the right of my blog & choose a new blinkie.
I have an animated & non-animated one. I don't care which you use but please use a new one.

Thanks and sorry for the inconvenience!

Miranda

Monday, November 23, 2009

Tutorial - Santa is Coming - Girl


I wrote this tutorial on November 23rd 2009 for deceptions82.blogspot.com
Any resemblance to any other tutorial is purely coincidental.

Scrap kit - Christmas Traditions PTU Kit by C.C.Creationz @ http://cccreationz.blogspot.com
Available for purchase *HERE* or *HERE*

Template (MV_Template11) by MelissaVgraphics @ http://melissav-psp.blogspot.com

Font - Jessaine Script SSK - Download Here

Tube - Christmas Star by Chatzoudis PTU @ http://www.mypsptubes.com

Open MV_Template 11

Save copy as - wherever you save your work as you're working on tags...

Delete credits layer

Open Paper 7. Copy.

Select "Frame" Layer.

Select All.  Float.  Defloat.  Paste into Selection. Select None.

Open Paper 17. Copy.

Select "Center Rectangle" Layer.

Select All. Float. Defloat. Paste into Selection. Select None.

Select "Frame" Layer.

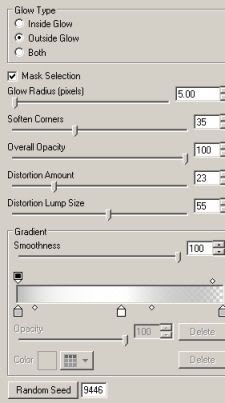
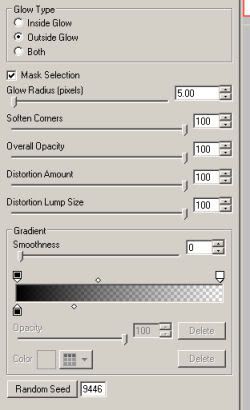
Effects. Plugins. Alien Skin Eye Candy 5 - Impact. Gradient Glow.

Settings Pictured Below.


If you do not have Eye Candy 5 - Impact you can substitute with your 3D Effects Drop Shadow Setting.
Set Blur to 0, Opacity to 100, Vertical and Horizontal to 4.
Then Redo with the same settings except change Vertical and Horizonal to -4 this time.

Open White Ornament. Copy. Paste as New Image. Close Original.

Resize by 20%. Copy. Paste into Template above "Circles" Layer. Place in desired location.

Go back to your Copy of White Ornament. Resize by 50%. Copy. Paste into Template. Duplicate. Arrange both in desired location.

Open Green Ornament. Copy. Paste as New Image. Close Original.

Resize by 16%. Copy. Paste into your Template. Duplicate. Arrange both in desired location.

Go back to your Copy of Green Ornament. Resize by 40%. Copy. Paste into Template. Duplicate 2 times. Arrange all 3 into desired location.

Open Red Ornament. Copy. Paste as New Image. Close Original.

Resize by 14%. Copy. Paste into your Template. Duplicate. Arrange both in desired location.

Go back to your Copy of Red Ornament. Resize by 70%. Copy. Paste into Template. Arrange in desired location.

Go back to your Copy of Red Ornament. Resize by 50%. Copy. Paste into Template. Duplicate 2 times. Arrange all 3 into desired location.

Select the "Circles" Layer. Delete it.

Make all the layers except for the ones with ornaments on them, invisible (so you cannot see them).

Go to one of the layers with ornaments on them and "merge visible".

Select the layer with your ornaments and add a drop shadow. I used the settings of Vertical and Horizontal at 2. Opacity at 50. Blur at 5. And the color black.

Open Paper 9.

Select the "strip 1" layer. Select all. Float. Defloat.

Using Flood Fill Tool. Choose Paper 9 as your Foreground and Stroke Properties Pattern at a scale of 50%. Fill in the Selection. Select None.

Open Paper 19.

Select the "strip 2" layer. Select all. Float. Defloat.

Using Flood Fill Tool. Choose Paper 19 as your Foreground and Stroke Properties Pattern with same settings as before. Fill in Selection. Select None.

Open Paper 4.

Select the "strip 3" layer. Select all. Float. Defloat.

Using Flood Fill. Choose Paper 4 as your Foreground and Stroke Properties Pattern with same settings as before. Fill in Selection. Select None.

Select "strip 1" Layer.

Effects. Plugins. Alien Skin Eye Candy 5 - Impact. Gradient Glow.

Same settings as before.

Repeat for "strip 2" layer and "strip 3" layer.

Again if you don't have Eye Candy 5 Impact you can substitute with the drop shadow, using the same settings as before.

Open Garland. Copy. Paste as New Image. Close Original.

Resize Garland by 50%. Copy. Paste into Template. Duplicate 3 times.

Place one Garland along the left side of the inside of the frame. Place one Garland along the right side of the inside of the frame.

Rotate the remaining Garland so it's laying horizontal. Duplicate.

Place one of these Garland along the top inside of the frame. Place the other Garland along the bottom inside of the frame.

Make all the layers except for the ones with garland on them, invisible (so you cannot see them).

Go to one of the layers with garland on them and "merge visible".

Select the layer with your garland and add a drop shadow. I used the settings of Vertical and Horizontal at 2. Opacity at 50. Blur at 5. And the color black.

Open your tube of choice.  Copy. Paste into Template below the garland layers. Increase so the tube of choice fills half of the frame. Change opacity of this layer to about 55.

Go back to your tube of choice. Copy. Paste into Template above all the layers. Arrange tube in desired location.

Add credits & copyright information as needed. Merge layers.

Add your name.  I used Jessamine Script SSK font. Paper17 for the Foreground and Stroke Properties. White for the Background and Fill Properties.

Arrange to your liking.  Export as jpg.  Enjoy :o)

Miranda

Thursday, November 19, 2009

Yay joined another CT! & other news

Oh I am so excited!  I joined another CT for C.C. Creationz & she also owns a store at Scrappin Dollars.

Sorry I haven't posted anything in a while.  I was hoping I would have received another kit from Country Hollow Creations but with the holidays coming up and all this H1N1 stuff going around I'm learning to work on my patience. I just with that while I was working on my patience I wouldn't have so much free time on my hands! LOL.  But anywho I should be working on some things for C.C. Creationz very soon & will definitely have some awesome layouts & more up within a week!

If you want to remain up to date with things I post (and I know you do!) be sure to follow me!  Also if anyone is interested in swapping blinkies lemme know.  I'd be more than interested to swap blinkies for a little advertising for each others blogs...

Until next time, keep scrappin - hehe.

Miranda

Thursday, November 12, 2009

Tis the Season - Cluster Frame

I created the cluster frame using the Snow Family Scrap Kit by Country Hollow Creations.

Click the preview to download the frame.  Please remember anything downloaded from my blog is for personal use only.  Thank you.


Miranda

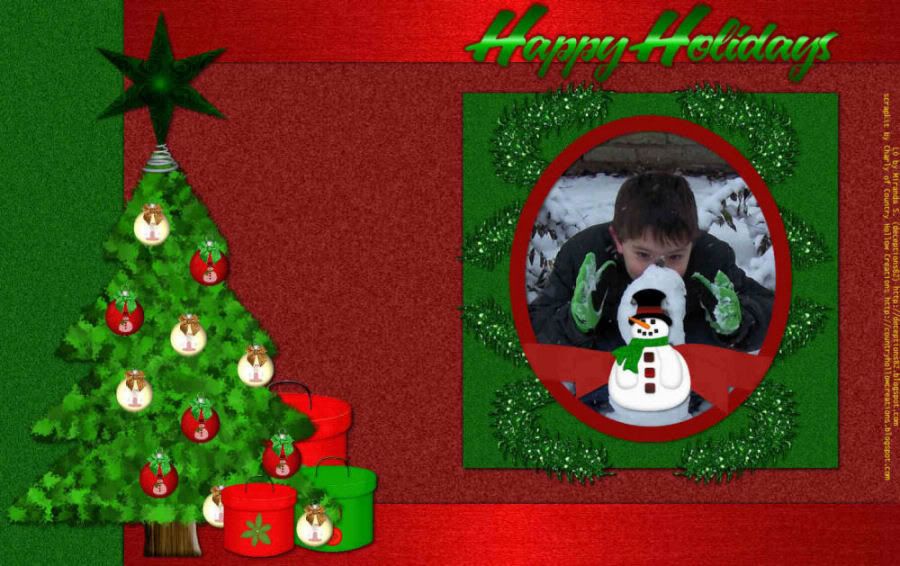
Happy Holidays - Quickpages

I created a few more quickpages using the Snow Family Scrap kit by Country Hollow Creations.

Please remember any items from my blog are for personal use only.


To get another quickpage with garland along the left click *HERE*


Miranda

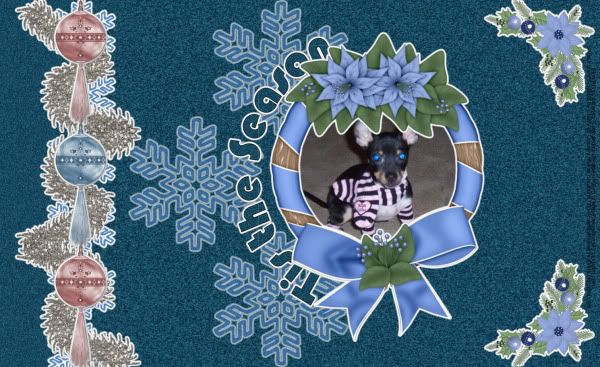
Tis the Season - Quickpage

I created a quick page using the Snow Family Scrap kit by Country Hollow Creations.
Please remember things you get from my blog are for personal use only.

Click the example below to download the Quickpage :o)


Miranda

Happy Holidays - Frame

I created a new frame using the Snow Family Scrap kit by Country Hollow Creations.

Remember everything from my blog is for personal use only.  :o)


Miranda

Tuesday, November 10, 2009

Winter Magic Blog Train - Now Seeking Designers


My second blog train!  I haven't started working on this one yet but I know
it's going to be fantastic!  I think I will make a few templates for this one as well,
it's time for me to make more templates!  We shall see :o)  If you're interested
in joining look at the info below.  For questions/comments about this
blog train please refer to the blog below, yahoo group, and e-mail addies below!


Train Will start at http://blogtrainad.blogspot.com/

You are more then welcome to make Kits, Templates, Cu items and ECT.

Please Have Your Part Ready and uploaded by Nov 28th
Codes will be emailed to participants no later then Nov 30th

Train Departs on Tuesday December 1st

If you would like to participate or have any questions
please email jaleereneedesigns@mischiefscrapz.info

Miranda

Sweet Creations Blog Train - Now Accepting Designers

I joined my first blog train!  So many firsts lately, the first of many more I hope!!  The information is below, please be sure to direct & questions/comments/etc to Jen by e-mailing her or going to her blog.  All the info is listed below. The color palette & seal are also available on her blog or once you join the group she will send them to you with more information!  I already finished my kit & preview, now I just have to wait til December 1st to post it. It's quite an extensive freebie, lots of things!

On to the Blog Train Information!

No better way to bring more people to your blog than an awesome freebie! Jen's starting a monthly blog train that will make its first departure Dec 1st, now all she needs is you to help me make it a huge success!
No restrictions on size or amount in your kit! Just grab the color palette and
let the creativity flow.

Blog: http://sweetcreationsblogtrain.blogspot.com/
Yahoo Group: http://groups.yahoo.com/group/SweetCreationsBlogTrain/
Email Jen at : jenssweettemptations@gmail.com


Miranda

Monday, November 9, 2009

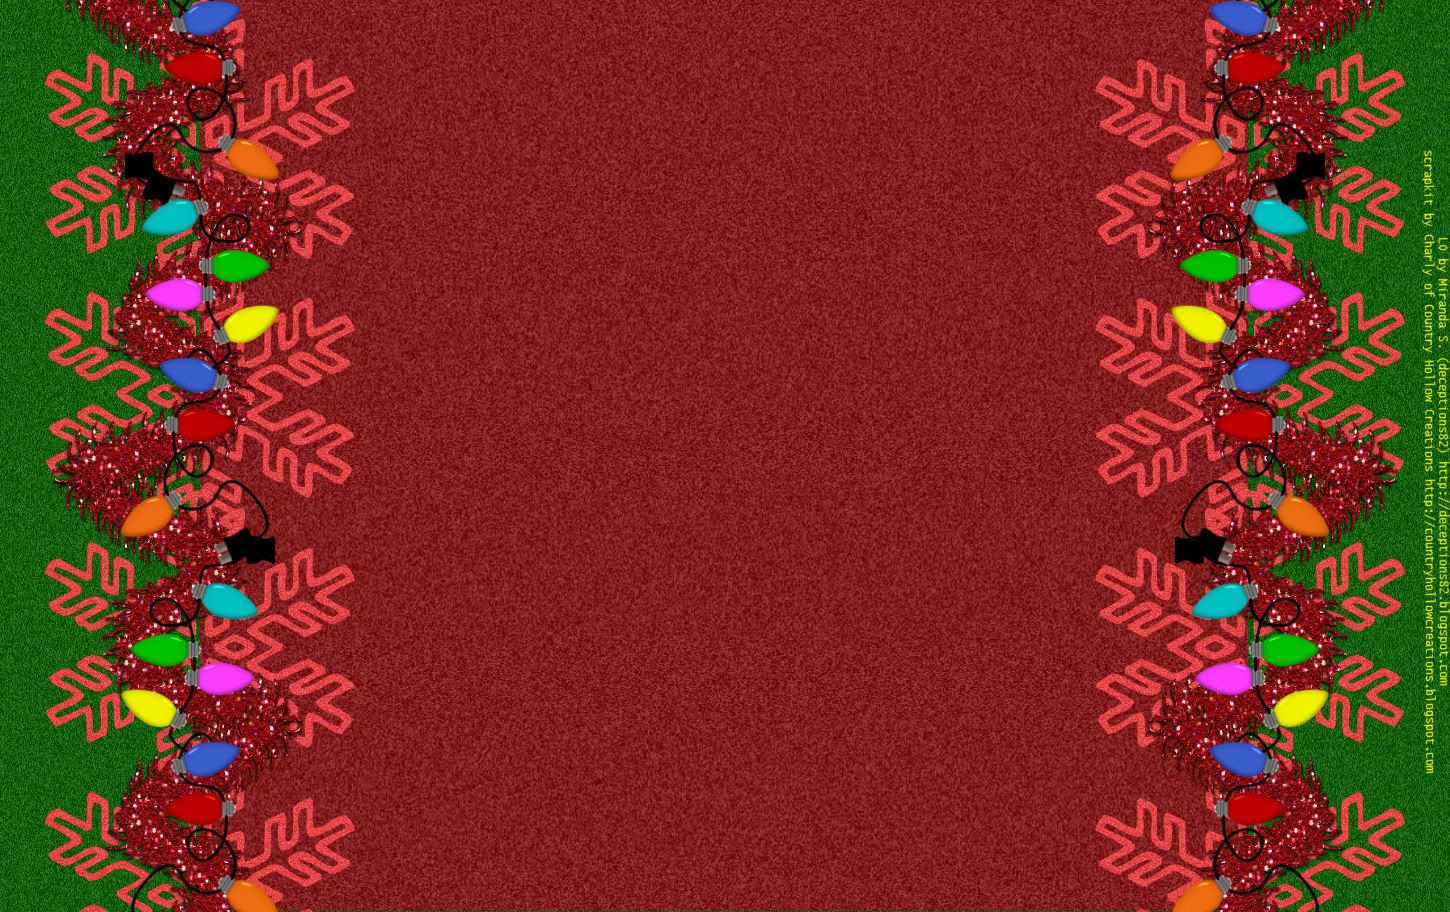
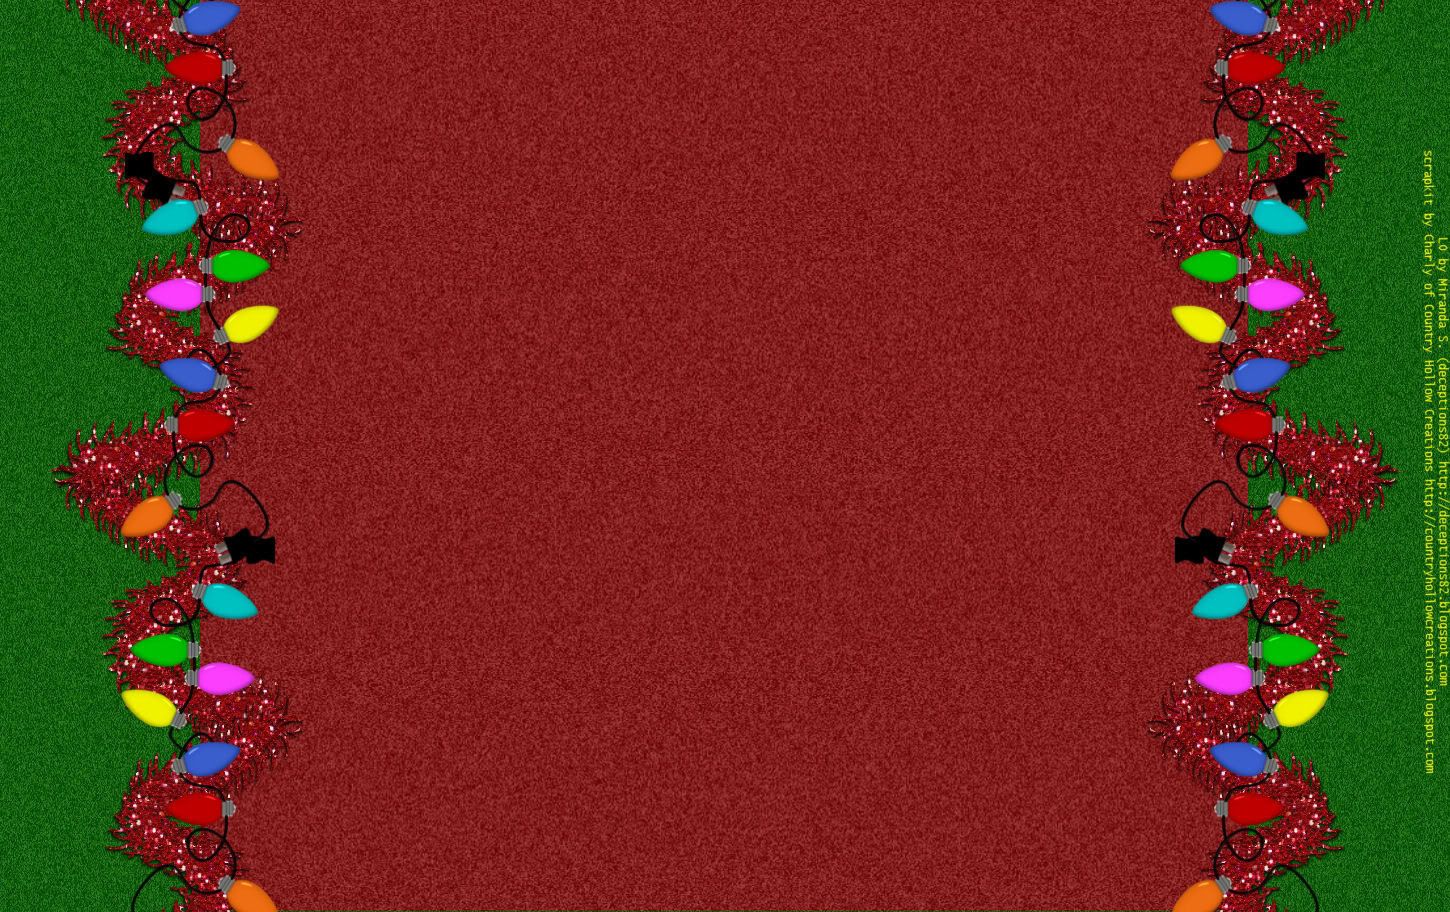
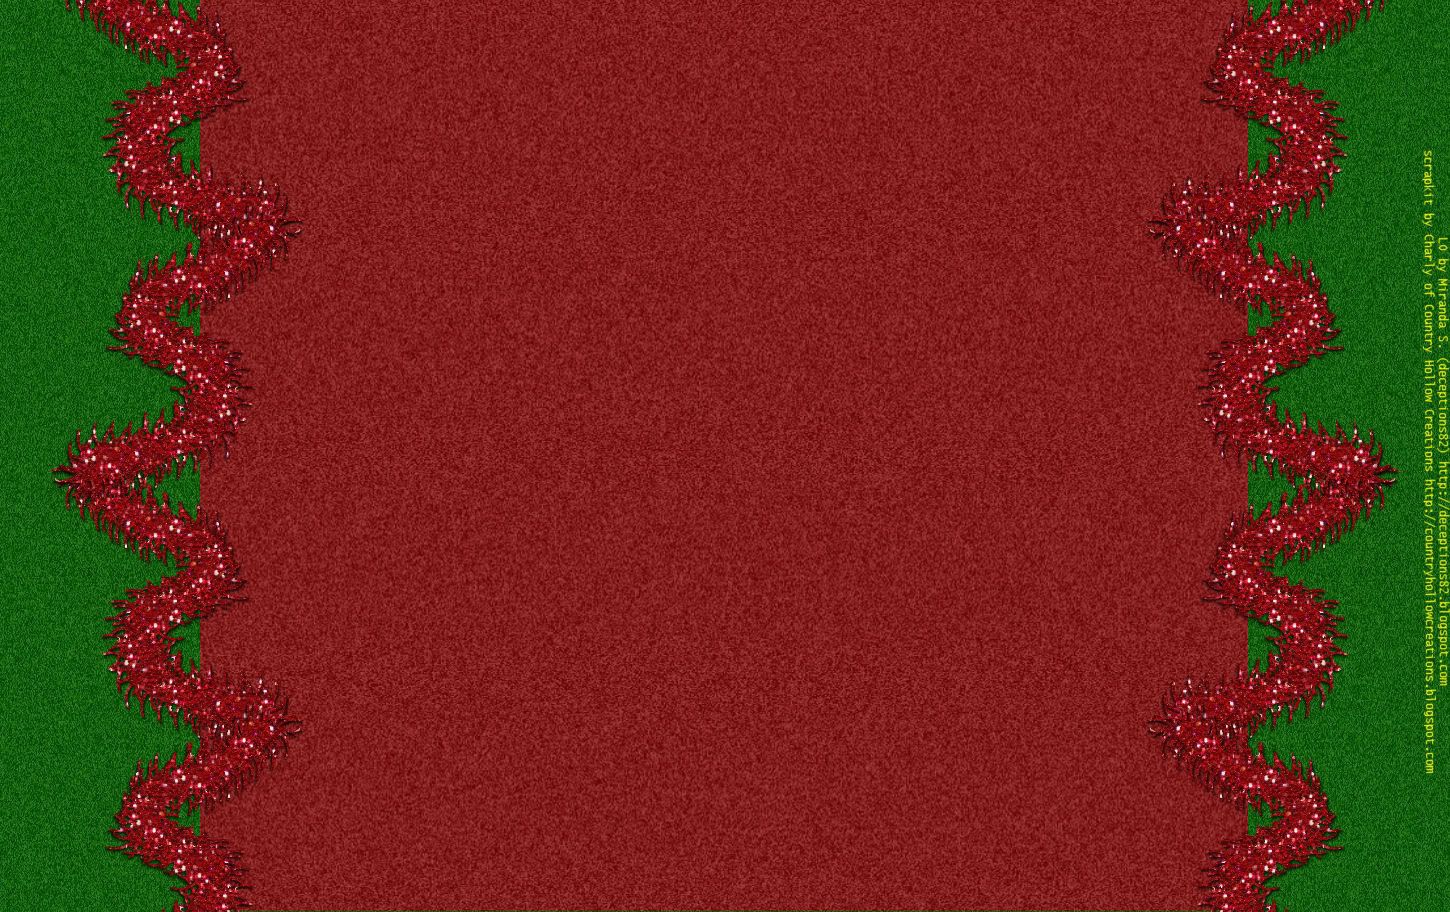
New Blog Backgrounds


I have created some Christmasy blog backgrounds for you to use if you would like :o)

I used the "Snow Family" Scrap Kit designed by Charly.
It can be purchased at - http://www.countryhollowscraps.com/


Click on the preview of the background for the full size version!
Feel free to resize as needed. Feel free to snag a blinkie & link to Charly's blog if you use, but it is not required.


And as soon as I hear back from Charly I may have a couple of quickpages
and a frame to share with you all :o)

Miranda

Sunday, November 8, 2009

Tutorial - Animated - Happy Holidays


I wrote this tutorial on November 8th 2009 for deceptions82.blogspot.com
Any resemblance to any other tutorial is purely coincidental.

Supplies Needed
I used Paintshop Pro, version 10.
I also used Alien Skin Eye Candy 5 – Impact.
And for animating I used Animation Shop 3.
A working knowledge of PSP is also needed.

Scrapkit. I used “Snow Family” by Country Hollow Creations.
You can purchase the tagger size kit - http://www.countryhollowscraps.com

Tube of Choice. I used a lovely tube called “Merry Christmas” from the artwork of Sandra Pascuini. Her artwork can be found - http://sandrapascuini.deviantart.com

Template. I used #36 by Yvette at Essence of Creativity. You can find this template and others on her blog - http://essenceofcreativity1.blogspot.com

Font. I used A&S Blaze Font. You can find it more fonts - http://www.azfonts.net
Get comfy in your chair &let's get to tagging :)

Open your template.

Save a copy of your template.

Delete the top layer.

From your Scrapkit open red foil paper.

In your template click on large frame layer.

Using your magic wand go to select all, float, and then de-float. Paste your red foil paper into the selection & then select none.

Now click on the small frames layer.

Using your magic wand go to select all, float, and then de-float. Paste your red foil paper into the selection &; then select none.

From your Scrapkit open green foil paper.

In your template click on large rectangle layer.

Using your magic wand go to select all, float, and then de-float. Paste your green foil paper into the selection & then select none.

From your Scrapkit open green glitter paper.

In your template click on thin rectangle layer.

Using your magic wand go to select all, float, and then de-float. Paste your green glitter paper into the selection & then select none.

Now may be a good time to save your work!

From your Scrapkit open red glitter paper.

In your template click on small squares layer.

Using your magic wand go to select all, float, and then de-float. Paste your red glitter paper into the selection & then select none.

Now click on the large square layer.

Using your magic wand go to select all, float, and then de-float. Paste your red glitter paper into the selection & then select none.

From your Scrapkit open 3 tubes of your choosing. I chose snowboy, snowbaby, and snowfamily for mine.

You'll need to resize each of these tubes by 20%

In your template click on small squares layer.

Paste as new layer each of your 3 tubes chosen from the Scrapkit. Arrange them to your liking.

If any part of the snowmen (or your tubes chosen from the Scrapkit) show around the outside of the smaller frames you'll need to use your erase tool and erase this portion. I used the square shape & made sure it was 100 hardness & 100 opacity.

From your Scrapkit open 3 Christmas Bulbs of your choosing. I chose bulb 1, 2, & 3 for mine.

You'll need to resize bulb 1 by 12% and bulbs 2 & 3 by 16% in order to make them all the same size.

In your template click on circles layer.

Paste as new layer each of your 3 bulbs chosen from the Scrapkit. Arrange them to your liking.

Open your tube of choice.

In your template click on large square.

Paste your tube of choice & resize & arrange to your liking.  I also added a drop shadow to my tube of choice with the settings of; vertical 2, horizontal 2, opacity 50, blur 5, and color of black.  Then I used my erase tool and removed any parts of the tube that were showing outside of the large frame.

Add any extra tubes from the Scrapkit if you choose. I choose to add 2 copies of snowflake 2 (resizing it by 20%) and positioning it in between the large frame & small frames. I also chose to add the tree (resizing it 15%) and pasting it inside of the large frame. Then erasing any portion that shows outside of the frame.
If you have Alien Skin Eye Candy 5 – Impact you can add a gradient glow to your large rectangle, thin rectangle, small frames, and large frame layers. My settings are pictured below.

If you do not have this plug-in, you can simply add drop shadow to these layers if you would like. Select the layer you want to add the shadow to. Go to Effects, 3D Effects, Drop Shadow.

In your template click on the top layer.

Using your text tool click anywhere on that layer to add your text.

Choose A&S Blaze as your font. Size 48. Bold. Alignment Center. Stroke Width 1.5. Create as Vector selected. Tracking set to -0.050. Foreground/Stroke properties set to a dark green color. Background/Fill properties set to gradient of multi-red, linear style, 0 angle, 0 repeats, Invert is unchecked. Type “Happy Holidays” in your Text Entry Box. Click Apply.

Position your “Happy Holidays” text wherever you'd like. I positioned mine centered above the large frame.
Select the Layer your Text is on. It should be called Vector. And right click and convert it to raster layer so we can add some effects!

If you have the plug-in add a gradient glow to your “Happy Holidays” text using the same settings as before.
If you do not have this plug-in, you can simply add drop shadow to this text, as you did with your previous layers.

Using your text tool click to add your watermark & any copyright information needed.

Now you can merge all (flatten) before we add our name!

Using your text tool click anywhere to add your name.

I chose A&S Font again. Size 72. Bold. Alignment Center. Stroke Width 1.0. Create as Vector Selected. Tracking set to 0. Foreground/Stroke properties are set to dark green color. Background/Fill properties set to gradient of multi-red, linear style, 0 angle, 0 repeats, Invert is unchecked. And you type your name. Click Apply.

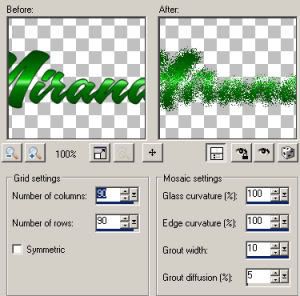
Position your name wherever you'd like. I positioned mine centered below the large frame.  To add the effects I have you can convert your text to raster, duplicate the layer, and use Texture Effects, Mosaic Glass with the settings below.

Then on the top layer of my text I used the same gradient glow we used before.

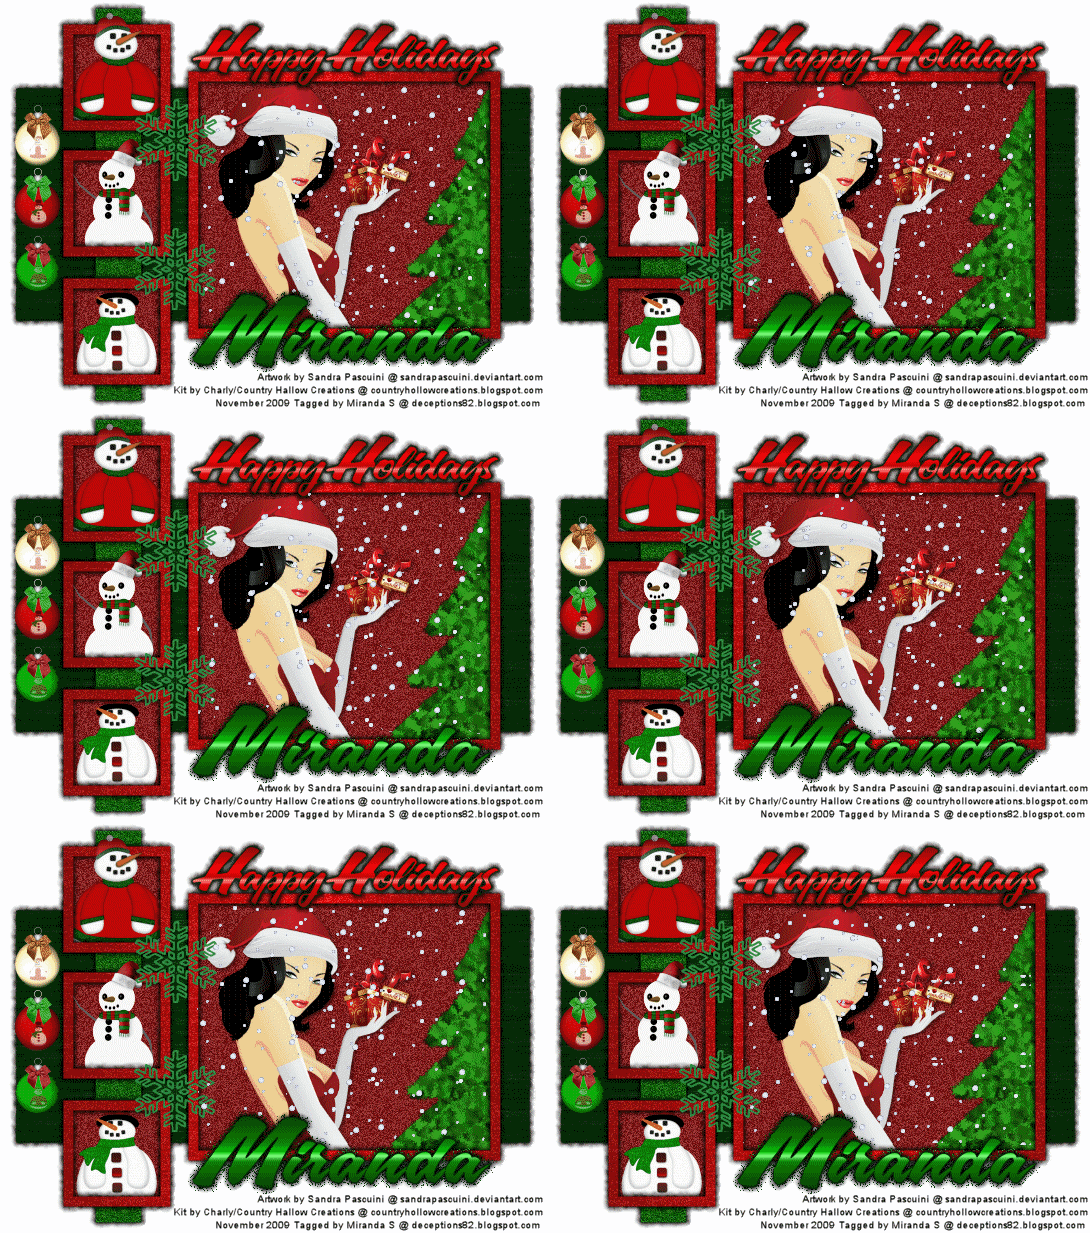
If you do not want to animate – Merge all (flatten) and export as JPG image. And show off your completed tag! Feel free to let me know if you've used my tutorial and if you have any questions/complaints/suggestions!
If you want to animate using Animation Shop 3. Mark your Merged Layer as Invisible & then Merge visible. But do not flatten. Make your invisible layer visible, and make the layer with your name on it invisible. Also make the white background layer visible.

Go to edit, copy merged.

Open Animation Shop 3.

Paste as New Animation. Duplicate this so there are 20 frames.

Open the snow animation which you can download *here*

Right click frame one of your snow animation. Hold shift down and right click frame 20 so that all the frames are highlighted blue.  Now CTRL-C or copy.

Click back to your animation 1 (your blank tag)

Right click frame one of your tag. Hold shift down and right click frame 20 so that all the frames are highlighted blue.

Click Edit, Paste into Selected Frame. And position your snow so that it appears to be inside the large frame.

You will repeat this step several times until the frame looks like it is full of the snow animation.

To preview your work click view & select preview.

You may want to save this animation.  And feel free to close the snow animation.

Go back to Paintshop Pro and make the text with your name on it visible again.

Select Edit. Copy. Go back to Animation Shop 3.

Paste as New Animation. Duplicate this so there are 20 frames.

Right click frame one of your name. Hold shift down and right click frame 20 so that all the frames are highlighted blue.

Click back to your animation 1 (your newly saved tag with snow). And make sure that all frames are selected.
Click Edit, Paste into Selected Frame. And position your name wherever you think it looks best.

Preview your animation like we did before to make sure it looks okay.

Then save as, and enjoy your new animated tag!


Miranda

Saturday, November 7, 2009

Freebies - Flat Beads by Miranda :o)


Click *here* to download.

Oh and I noticed on some of the previews it says "WordArt for Personal Use only" when the item
being previewed isn't word art.  This applies to all my items I have, they are FTU & PU only.
I will fix my previews later :o)


Miranda

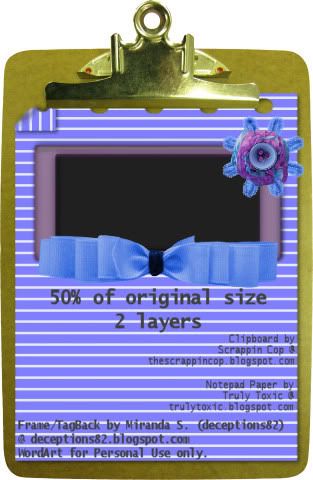
Frame/Tag Back - By Miranda :o)

I created this frame/tag back last night when I was in process of working on
my first scrap kit - which may or may not ever be completed LOL.


Click *here* to download.


Miranda

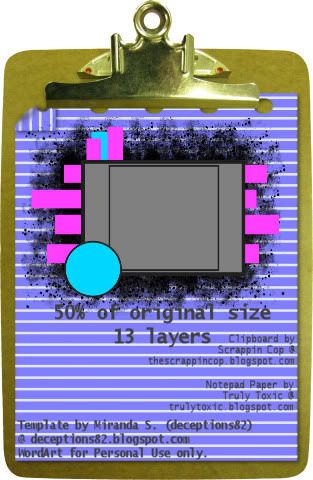
Freebie - Template 001 by Miranda :o)


Click *here* to download.

This is a re-do of an old blog post. I did a new preview for this template.
As stated previously, you can use my templates for tutorials just give a link
back to my blog. And if you share my template that is fine as well just use
my preview in the process & don't direct link to my download site :o)


Miranda

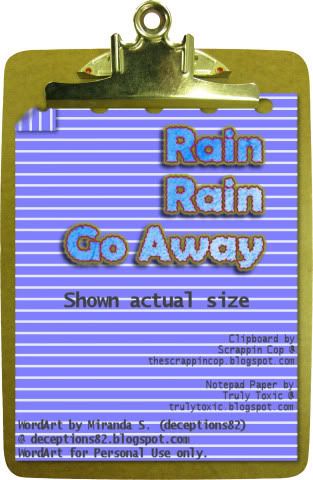
Word Art - Rain Rain Go Away


Click *here* to download.

If you share my word art please be sure to direct people back to my blog,
and not directly to the download link. Thanks in advance :o)


Miranda

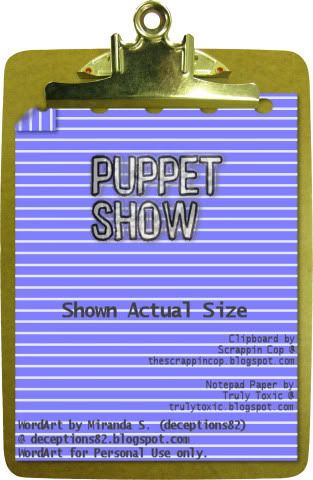
Word Art - Puppet Show


Click *here* to download.

Miranda

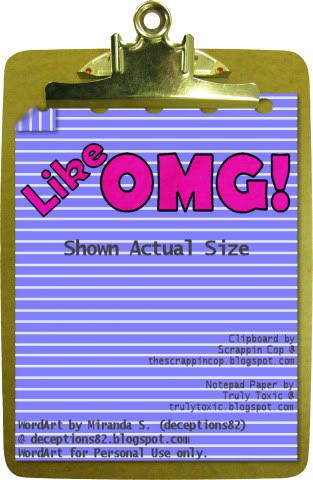
Word Art - Like OMG!


Click *here* to download.

Please remember when sharing any of my files to direct people
back to my blog & not to the download link itself. Thank you in advance :o)


Miranda