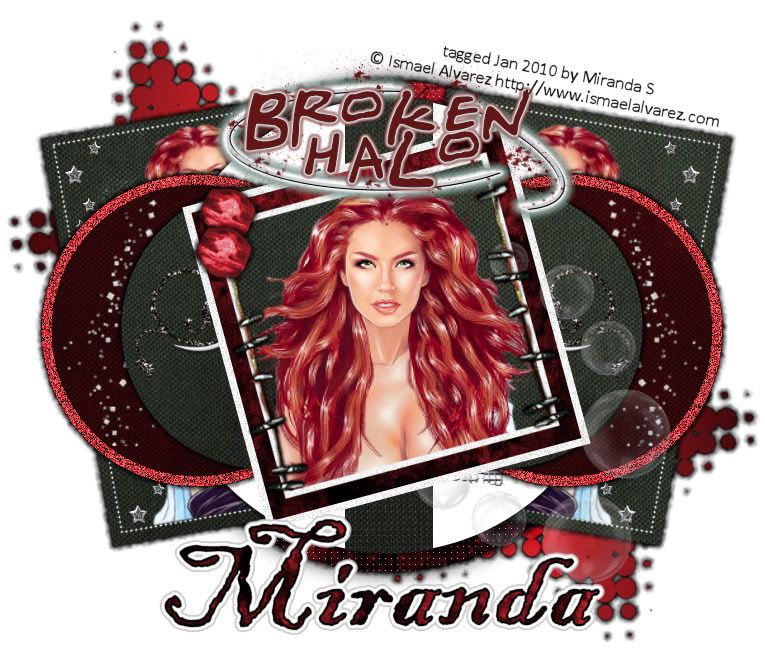
I wrote this tutorial on January 10th 2010 for deceptions82.blogspot.com
Any resemblance to any other tutorial is purely coincidental.
Supplies Needed
I used Paintshop Pro, version 10.
I also used Alien Skin Eye Candy 5 – Impact.
A working knowledge of PSP is also needed.
Scrapkit. I used “Broken Halo” by Angels Designz.
You can purchase the kit -http://angelsdesignz.blogspot.com
Tube of Choice. I used a FTU tube from Ismael Alvarez. His artwork can be found at http://www.ismaelalvarez.com
Template. I used Missy_Rachel_Collab_Temp8. You can find this template and others on the blog - http://scrapsofenchantment.blogspot.com
Font. I used Blackadder ITC Font. It should come standard with your fonts. Otherwise you can check http://www.azfonts.com
Open your template.
Save a copy of your template.
Delete the top layer (the credits/watermark/etc)
From your scrap kit open your paper3, paper7, and paper8 and minimize them all within your PSP.
Select the framebackground2 layer.
Select the color replacer tool. Have the background set to black and the foreground set to paper7 in your materials window.
Replace the color of framebackground2 so that it's now the paper7.
Repeat these steps on the circle5, circle4, rectangle2, and rectangle1 layers.
Select the heartbrush layer.
Select the color replacer tool. Have the background set to f82c87 (hot pink) and the foreground set to paper8 in your materials window.
Replace the color of heartbrush so that it's now the paper8.
Repeat these steps on the circle 3 and circle 2 layers.
Select the starleft layer.
Select the change to target tool. Have hte background set to f82c87 (hot pink) and the foreground set to paper3 in your materials window.
Change the color of the star so that it is light red (instead of hot pink). You my have to repeat this step a few times to achieve the right shade of red.
Repeat this step on the starright, circle3, and circle 2 layers.
Having only the starright & starleft layers visible, merge them.
Effects > Plugin > Alien Skin Eye Candy 5 - Impact > Gradient Glow
Any resemblance to any other tutorial is purely coincidental.
Supplies Needed
I used Paintshop Pro, version 10.
I also used Alien Skin Eye Candy 5 – Impact.
A working knowledge of PSP is also needed.
Scrapkit. I used “Broken Halo” by Angels Designz.
You can purchase the kit -http://angelsdesignz.blogspot.com
Tube of Choice. I used a FTU tube from Ismael Alvarez. His artwork can be found at http://www.ismaelalvarez.com
Template. I used Missy_Rachel_Collab_Temp8. You can find this template and others on the blog - http://scrapsofenchantment.blogspot.com
Font. I used Blackadder ITC Font. It should come standard with your fonts. Otherwise you can check http://www.azfonts.com
Open your template.
Save a copy of your template.
Delete the top layer (the credits/watermark/etc)
From your scrap kit open your paper3, paper7, and paper8 and minimize them all within your PSP.
Select the framebackground2 layer.
Select the color replacer tool. Have the background set to black and the foreground set to paper7 in your materials window.
Replace the color of framebackground2 so that it's now the paper7.
Repeat these steps on the circle5, circle4, rectangle2, and rectangle1 layers.
Select the heartbrush layer.
Select the color replacer tool. Have the background set to f82c87 (hot pink) and the foreground set to paper8 in your materials window.
Replace the color of heartbrush so that it's now the paper8.
Repeat these steps on the circle 3 and circle 2 layers.
Select the starleft layer.
Select the change to target tool. Have hte background set to f82c87 (hot pink) and the foreground set to paper3 in your materials window.
Change the color of the star so that it is light red (instead of hot pink). You my have to repeat this step a few times to achieve the right shade of red.
Repeat this step on the starright, circle3, and circle 2 layers.
Having only the starright & starleft layers visible, merge them.
Effects > Plugin > Alien Skin Eye Candy 5 - Impact > Gradient Glow

See my picture for the settings to use for the black subtle edges.
Apply this to your layer of both the stars merged.
Having only the dottedsquareright & rectangle2 visible, merge them.
Repeat the steps above to add black subtle edges.
Having only the dottedsquareleft & rectangle1 visible, merge them.
Repeat the steps above to add black subtle edges.
Having only the largecircle & blurcircle visible, merge them.
Repeat the steps above to add black subtle edges.
Select your circle 1 and repeat the steps above to add black subtle edges.
Repeat the steps for circle2, circle3, circle4, and circle5 to add black subtle edges as well.
Open your tube of choice. Save a copy of your tube of choice and close the original.
Copy/Paste your tube of choice so it appears inside of the frame on the frame2 layer.
Increase the size so that just the face appears. Use the eraser tool to remove any pieces that appear outside the frame.
Copy/Paste your tube of choice again, resize it so that it fits within your desired location on the left side of the template.
Duplicate the layer with your smaller tube of choice. Mirror your duplicated layer. Now it should appear on the right side as well.
Going back to your scrap kit, choose any embellishments you would like to add to your tag.
I chose to add bead 1.
I also chose to add binding, and resized it. And I arranged it over the frame2 layer.
Then I used the starstring and I resized it smaller and arranged it on the left side of the template, then duplicated it and mirrored it so that it also appears on the right side.
Next I used the globe and resized it quite a bit. I duplicated it 3 times and arranged the 3 globes. Then I resized the third globe smaller and duplicated this 4 times and arranged the globes.
Then I resized the 5th globe smaller and arranged it.
After that I added swirl. I arranged it on the left side above the circle layers. Then I duplicated this layer and mirrored it so there is a swirl on the right side as well.
Next I used glitterspill and resized by 50% and arranged it on the left side. Then I duplicated this layer and mirrored it so there is a glitterspill on the right side also.
Then I merged everything visible (except the white background).
Now you can add your watermark and your name!